Gel manicures are a vibe—glossy, chip-free nails that last weeks. But gel nail damage repair is a must when nails turn thin, brittle, or peeling after months of gel. With dedication, nails can bounce back stronger. This article explores what causes gel polish to harm nails, guides through a solid nail care plan, highlights top recovery products, explains when to avoid salons, and shares tips for safer gel use. It’s all about giving nails the care they need to shine naturally.
Why Gel Manicures Can Damage Nails
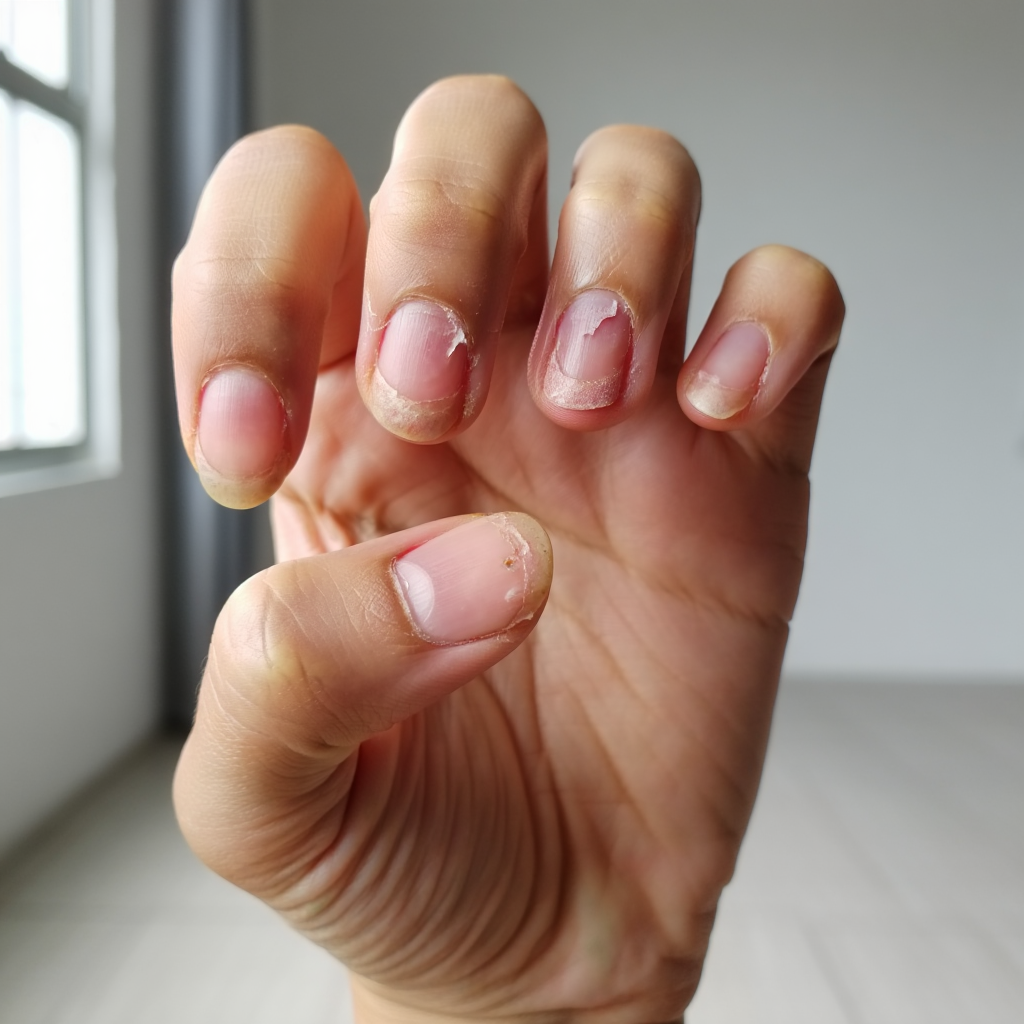
Gel polish gives that flawless, long-lasting shine everyone loves. But the process isn’t always kind to nails. The combo of UV light, harsh removal, and chemicals can weaken the nail plate. Over time, nails lose moisture and strength. Understanding the culprits behind the damage is key to gel nail damage repair.
The Role of UV Light
Those UV lamps that cure gel polish? They’re beaming UVA rays right onto the nails and skin. This dries out the nail bed, leaving it brittle and weak. Some folks worry about skin cancer risks from long-term exposure, though it’s rare. For frequent gel users, switching to LED lamps or limiting manicures can help with gel nail damage repair. It’s a small tweak that makes a difference.
Harsh Removal Practices
Taking off gel polish is where things get messy. Some technicians use electric files to grind down the polish, which can thin nails if they’re not careful. Soaking in acetone too long dries them out even more. Worst of all? Peeling off the gel by hand. That rips off layers of the nail itself. Why do gel nails ruin your nails? Bad removal habits are a huge reason.
Chemical Impact
Gel polish is packed with stuff like methacrylate monomers. They make the polish durable but can mess with the nail’s natural keratin. Constant gel applications without breaks wear nails down, causing splits or peeling. Everyday tasks like typing or washing dishes can make things worse. Giving nails a rest is critical for healthy recovery.
Step-by-Step Nail Recovery Plan
After months of gel manicures, nails need a serious timeout. A solid post-gel nail care routine can bring them back to life. This plan is all about hydration, strength, and steady growth. It takes time—nails grow about an eighth of an inch a month—but sticking with it pays off. Here’s how to do it right.
Take a Polish Holiday
First up, ditch the polish completely. Bare nails can soak up natural oils and moisture again. It might feel weird to go without color, but it’s a game-changer for gel nail damage repair. Aim for at least two weeks, ideally a month. This break lets nails rebuild their strength naturally.
Hydrate Like Crazy
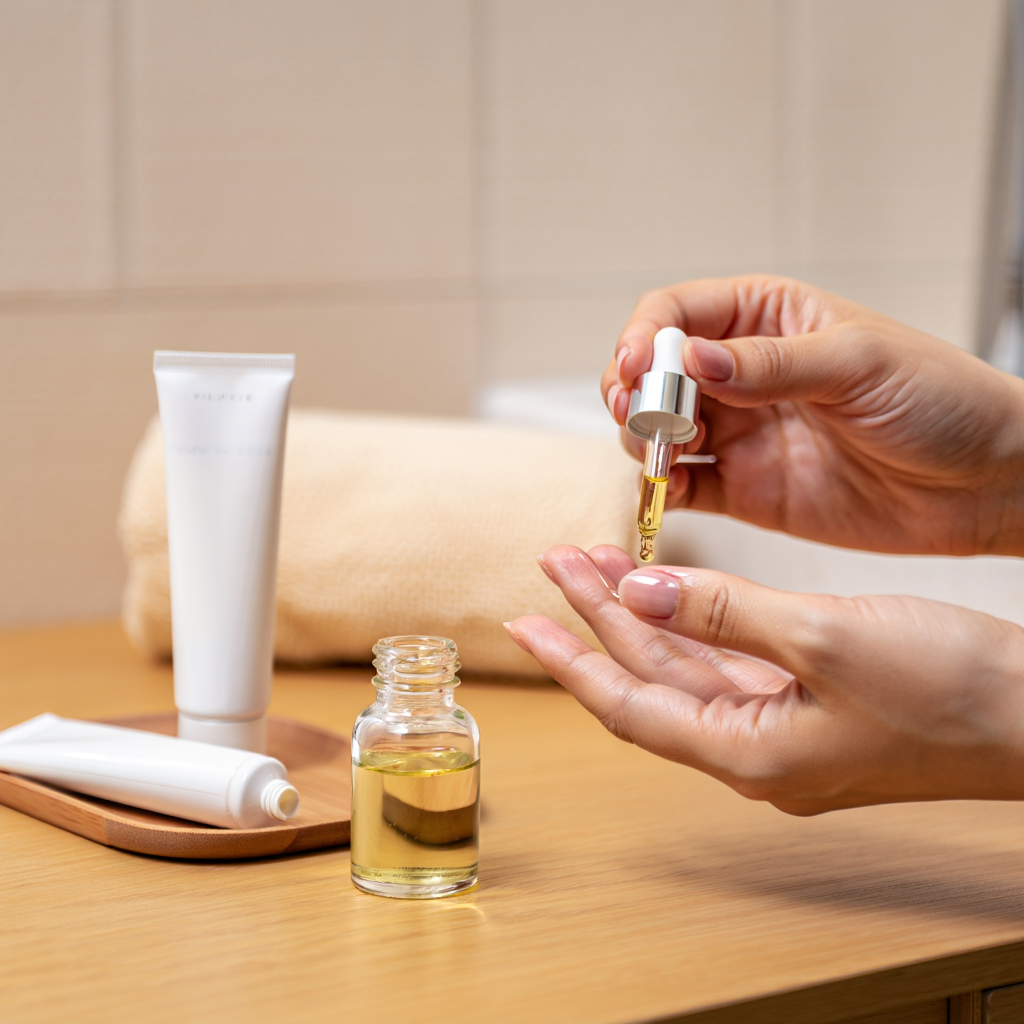
Dry nails snap easily. Keeping them moisturized is a cornerstone of how to recover from gel manicures. Rub cuticle oil into the nail bed and skin around it every day. Oils like jojoba or almond are great because they sink in deep. Follow with a thick hand cream to seal it in. Do this twice a day for the best shot at recovery.
Trim and File Gently
Weak nails break if they’re too long. Keep them short and rounded to avoid snags. Use a glass nail file—it’s gentler than those gritty emery boards. File in one direction to prevent splits. This keeps nails tidy while they grow out.
Eat for Nail Health
What you eat matters for gel nail damage repair. Protein, biotin, and collagen boost nail growth. Snack on eggs, fish, or greens to feed the nail’s keratin. Stay hydrated with plenty of water to keep nails flexible. A biotin supplement can help, but talk to a doctor before starting one.
Weekly Maintenance Routine
Here’s a practical weekly plan to follow:
- Soak nails in warm olive oil for 10 minutes to hydrate.
- Buff nails lightly with a soft buffer to smooth bumps.
- Apply a nail strengthener to reinforce weak spots.
- Massage cuticle oil into nails and cuticles twice a day.
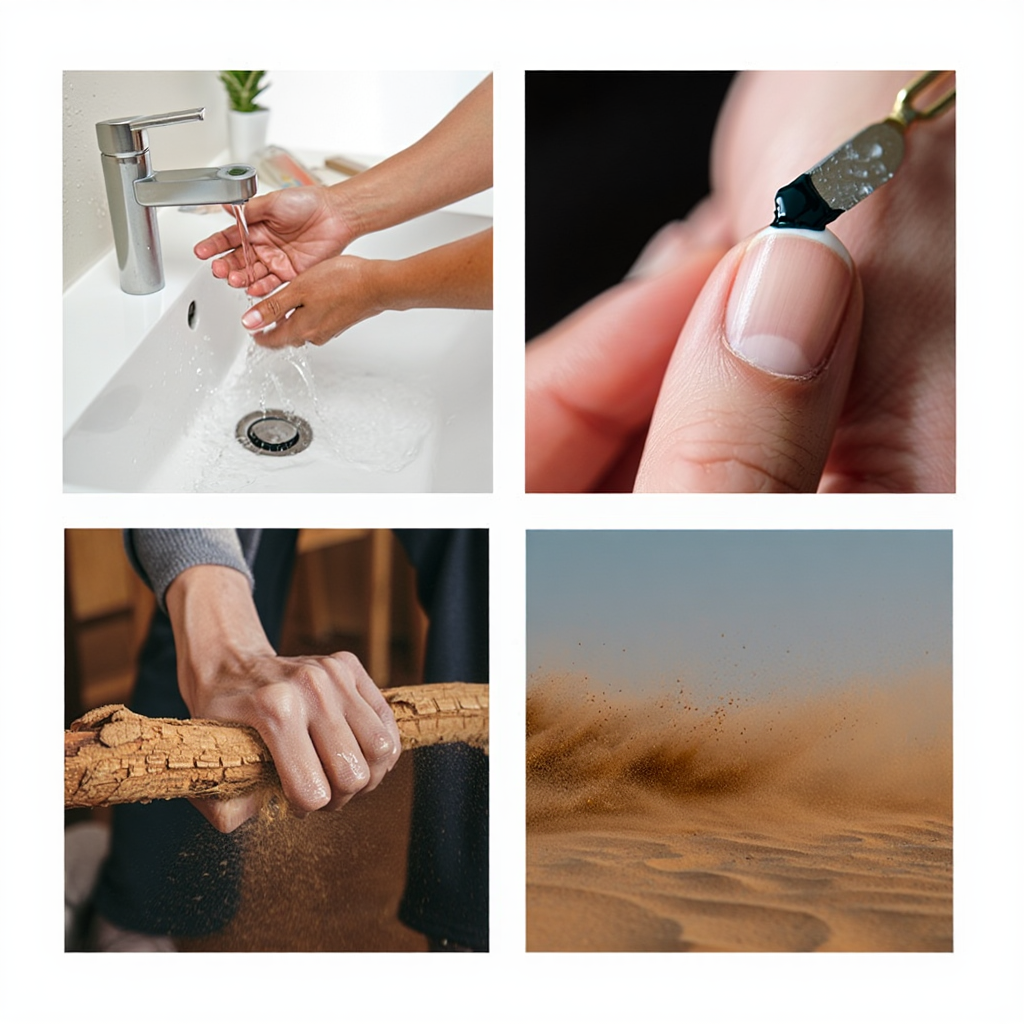
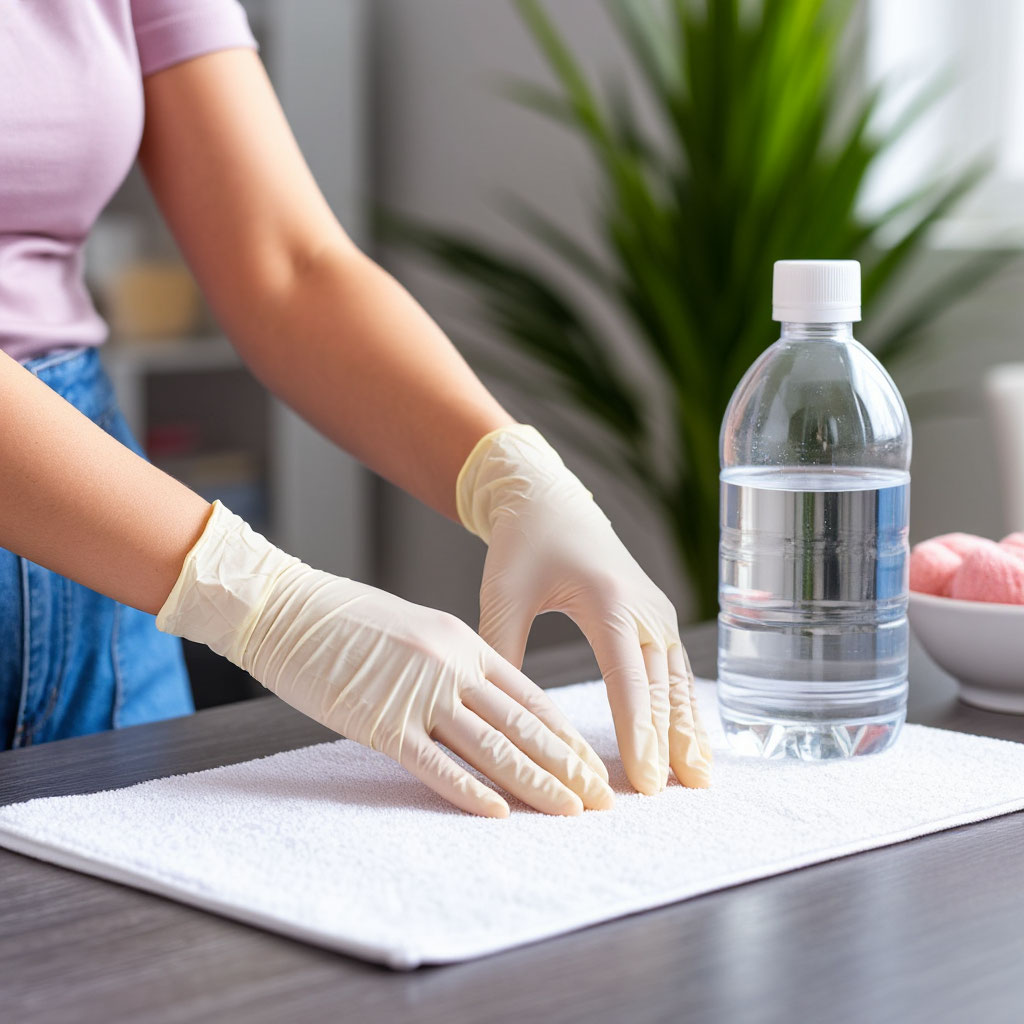
- Wear gloves when washing dishes or using cleaners.
This routine is simple but effective for how to recover from gel manicures. Stick with it for three months to see real progress.
Best Repair Products
Picking the right products is huge for gel nail damage repair. The wrong ones can slow down recovery or make things worse. Look for formulas that hydrate, strengthen, and protect without harsh stuff. This table breaks down some top choices based on what actually works.
| Product Name | Key Ingredients | Benefits | Price Range |
| CND SolarOil | Jojoba Oil, Vitamin E | Hydrates cuticles, restores flexibility | $8-$12 |
| OPI Nail Envy | Calcium, Wheat Protein | Strengthens brittle nails | $15-$20 |
| Essie To The Rescue | MSM, Ceramides | Repairs UV-damaged nails | $10-$15 |
| Barielle Nail Strengthener Cream | Keratin, Calcium | Promotes growth, reduces peeling | $12-$18 |
| Sally Hansen Vitamin E Oil | Vitamin E, Apricot Oil | Soothes dry cuticles, prevents cracking | $6-$10 |
Cuticle Oils for Deep Hydration
Cuticle oils are non-negotiable for a post-gel nail care routine. They sink into the nail bed, delivering moisture and vitamins. CND SolarOil is a go-to because it absorbs fast and doesn’t leave a greasy mess. Put a drop on each nail and rub it in for a minute. This simple habit boosts nail flexibility and speeds up recovery.
Nail Strengtheners for Resilience
Nail strengtheners are like armor for weak nails. OPI Nail Envy has calcium to toughen up the nail plate. Brush on two thin coats and reapply every few days. Essie’s To The Rescue is great for UV damage, thanks to its ceramides that rebuild nail structure. Don’t overdo it, though—too much can make nails stiff and prone to cracking. These are some of the best products for nail recovery.
Natural Remedies to Try
Want a budget-friendly option for gel nail damage repair? Natural oils can do wonders. Soak nails in warm olive oil for 15 minutes a few times a week. Castor oil is another solid pick because it fights bacteria. These are gentle enough for daily use and super affordable. Mix them into your routine for an extra hydration boost.

When to Skip the Salon
Salons are awesome for a professional vibe, but they’re not always great for damaged nails. Sometimes, going DIY is the smarter move. Knowing when to take a break can save nails from more harm. Here’s how to tell when it’s time to handle gel nail damage repair at home.
- Nails are super thin or bend like paper.
- Cuticles look red, sore, or puffy.
- You see white spots or deep grooves in the nails.
- You’ve done gel manicures non-stop for months.
- Peeling or splitting just won’t quit.
Risks of Over-Filing
Some salons use electric files to scrape off gel polish. If the technician goes too hard, it can shave down the nail plate. This leaves nails weak and open to infections. If a salon pushes for gel without checking nail health, that’s a warning sign. Look for places that focus on gentle removal and post-gel nail care routine. It’s better for long-term nail health.
Allergic Reactions to Watch For
Some folks get allergic to gel polish chemicals like HEMA. Signs include itchy, red skin around the nails or even nails lifting off the bed. If this happens, skip the salon and see a dermatologist. Hypoallergenic polishes like Manucurist’s Green Flash can be a safer bet later on. This helps avoid constant gel nail damage repair down the line.
DIY Removal Done Right
Removing gel at home can be gentler if you do it right. Start by soaking nails in warm, soapy water for 10 minutes to loosen the polish. Wrap each nail in a cotton pad soaked with acetone, then cover with foil. After 10 minutes, nudge the polish off with an orange stick. Finish with a big dose of cuticle oil. This method keeps damage low and supports how to recover from gel manicures.
How to Safely Wear Gel Again
Once nails are back in shape, it’s tempting to dive back into gel manicures. But rushing in can undo all that hard work. A few smart changes can make gel safer and keep nails healthy. It’s about finding a balance that works for gel nail damage repair.
Choose a Reputable Salon
Not every salon is nail-friendly. Pick one that cares about nail health over quick turnarounds. Good technicians use quality products and skip heavy filing. Ask if they use LED lamps, which are less harsh than UV. A solid salon checks nail condition before applying gel, making how to recover from gel manicures less of a hassle.
Space Out Appointments
Getting gel manicures back-to-back is asking for trouble. Give nails a breather every few months. Go polish-free for a couple of weeks between sessions. This gives the nail plate time to rebuild and stay strong. It’s a simple way to avoid the cycle of why do gel nails ruin your nails.
Use Protective Products
Before a gel manicure, slap on a strengthening base coat. OPI Nail Envy or Essie’s To The Rescue creates a buffer between the nail and polish. After removal, jump back into your post-gel nail care routine with cuticle oil and hand cream. This keeps nails hydrated and tough enough to handle gel without needing constant recovery.
Consider Safer Alternatives
If gel keeps causing issues, try something else. Regular polish is way less harsh and easier to take off. Breathable polishes, like Zoya’s, let air and moisture reach the nail. For that gel-like shine, Manucurist’s Green Flash uses milder chemicals. These options cut down on the need for best products for nail recovery and keep nails happy.
In the video you can see how to care for damaged nails and restore their health after removing the coating:
Gel manicures are a fun way to keep nails looking fresh, but they can leave them in rough shape. Gel nail damage repair takes effort, time, and the right steps. By figuring out why do gel nails ruin your nails, sticking to a practical post-gel nail care routine, using the best products for nail recovery, knowing when to avoid salons, and wearing gel smarter, anyone can get their nails back on track. It’s not about giving up manicures for good—just treating nails with care so they stay strong and ready for whatever style comes next.